Bedside Ultrasound For Acute Appendicitis - Featuring Colorized Images
This is a co-post between The POCUS Atlas and Clinical Monster. We shared our images and overlaid color for a comprehensive review of anatomy and how to perform POCUS for appendicitis.
Author: Dr. Miguel Martinez Romo, Dr. Roshanak Benabbas; Images: Dr. Sathya Subramanian, Editing/Colorizing by Dr. Matthew Riscinti; Editing: Dr. Ian Desouza, Dr. John Kilpatrick, Dr. Randi Ozaki
Part 1: Evidence, Technique and Anatomy
The Evidence
Appendicitis is a surgical emergency commonly encountered in the emergency department. In a patient with undifferentiated right lower quadrant pain, appendicitis is often at the top of the differential or is a diagnosis that the provider often feels has to be “ruled-out.” Ultrasonography has emerged as a tool to aid in the diagnosis of appendicitis while also reducing radiation exposure, particularly in children.
…But how accurate is point-of-care-ultrasound (POCUS) at diagnosing acute appendicitis?
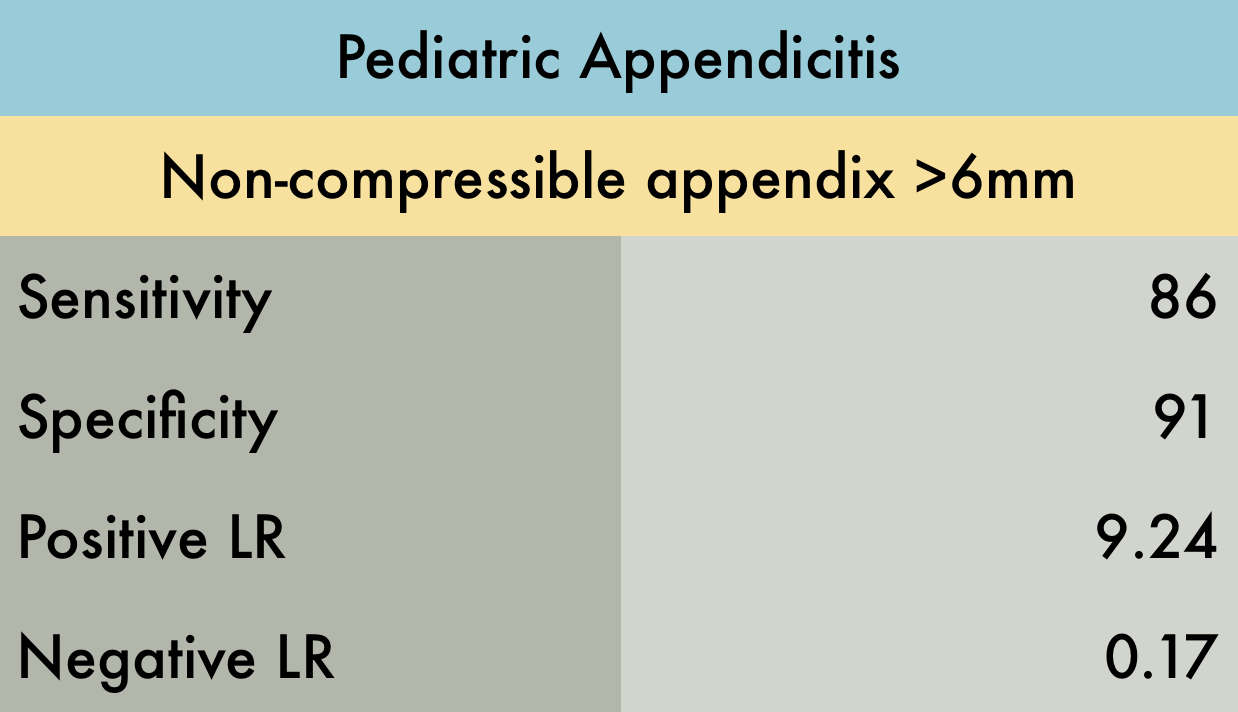
In a systematic review and meta-analysis of four studies including 461 pediatric patients, POCUS by emergency physicians had 86% sensitivity and 91% specificity. The positive and negative Likelihood Ratios (LR) were 9.24 and 0.17, respectively. All included studies were prospective and were moderate to high quality (1).
Using this data, POCUS can diagnose acute appendicitis, without the need for radiologist-performed ultrasound, CT, or MRI. However, if POCUS is equivocal or negative, appendicitis cannot be ruled out without further studies. (1)
Technique & Anatomy
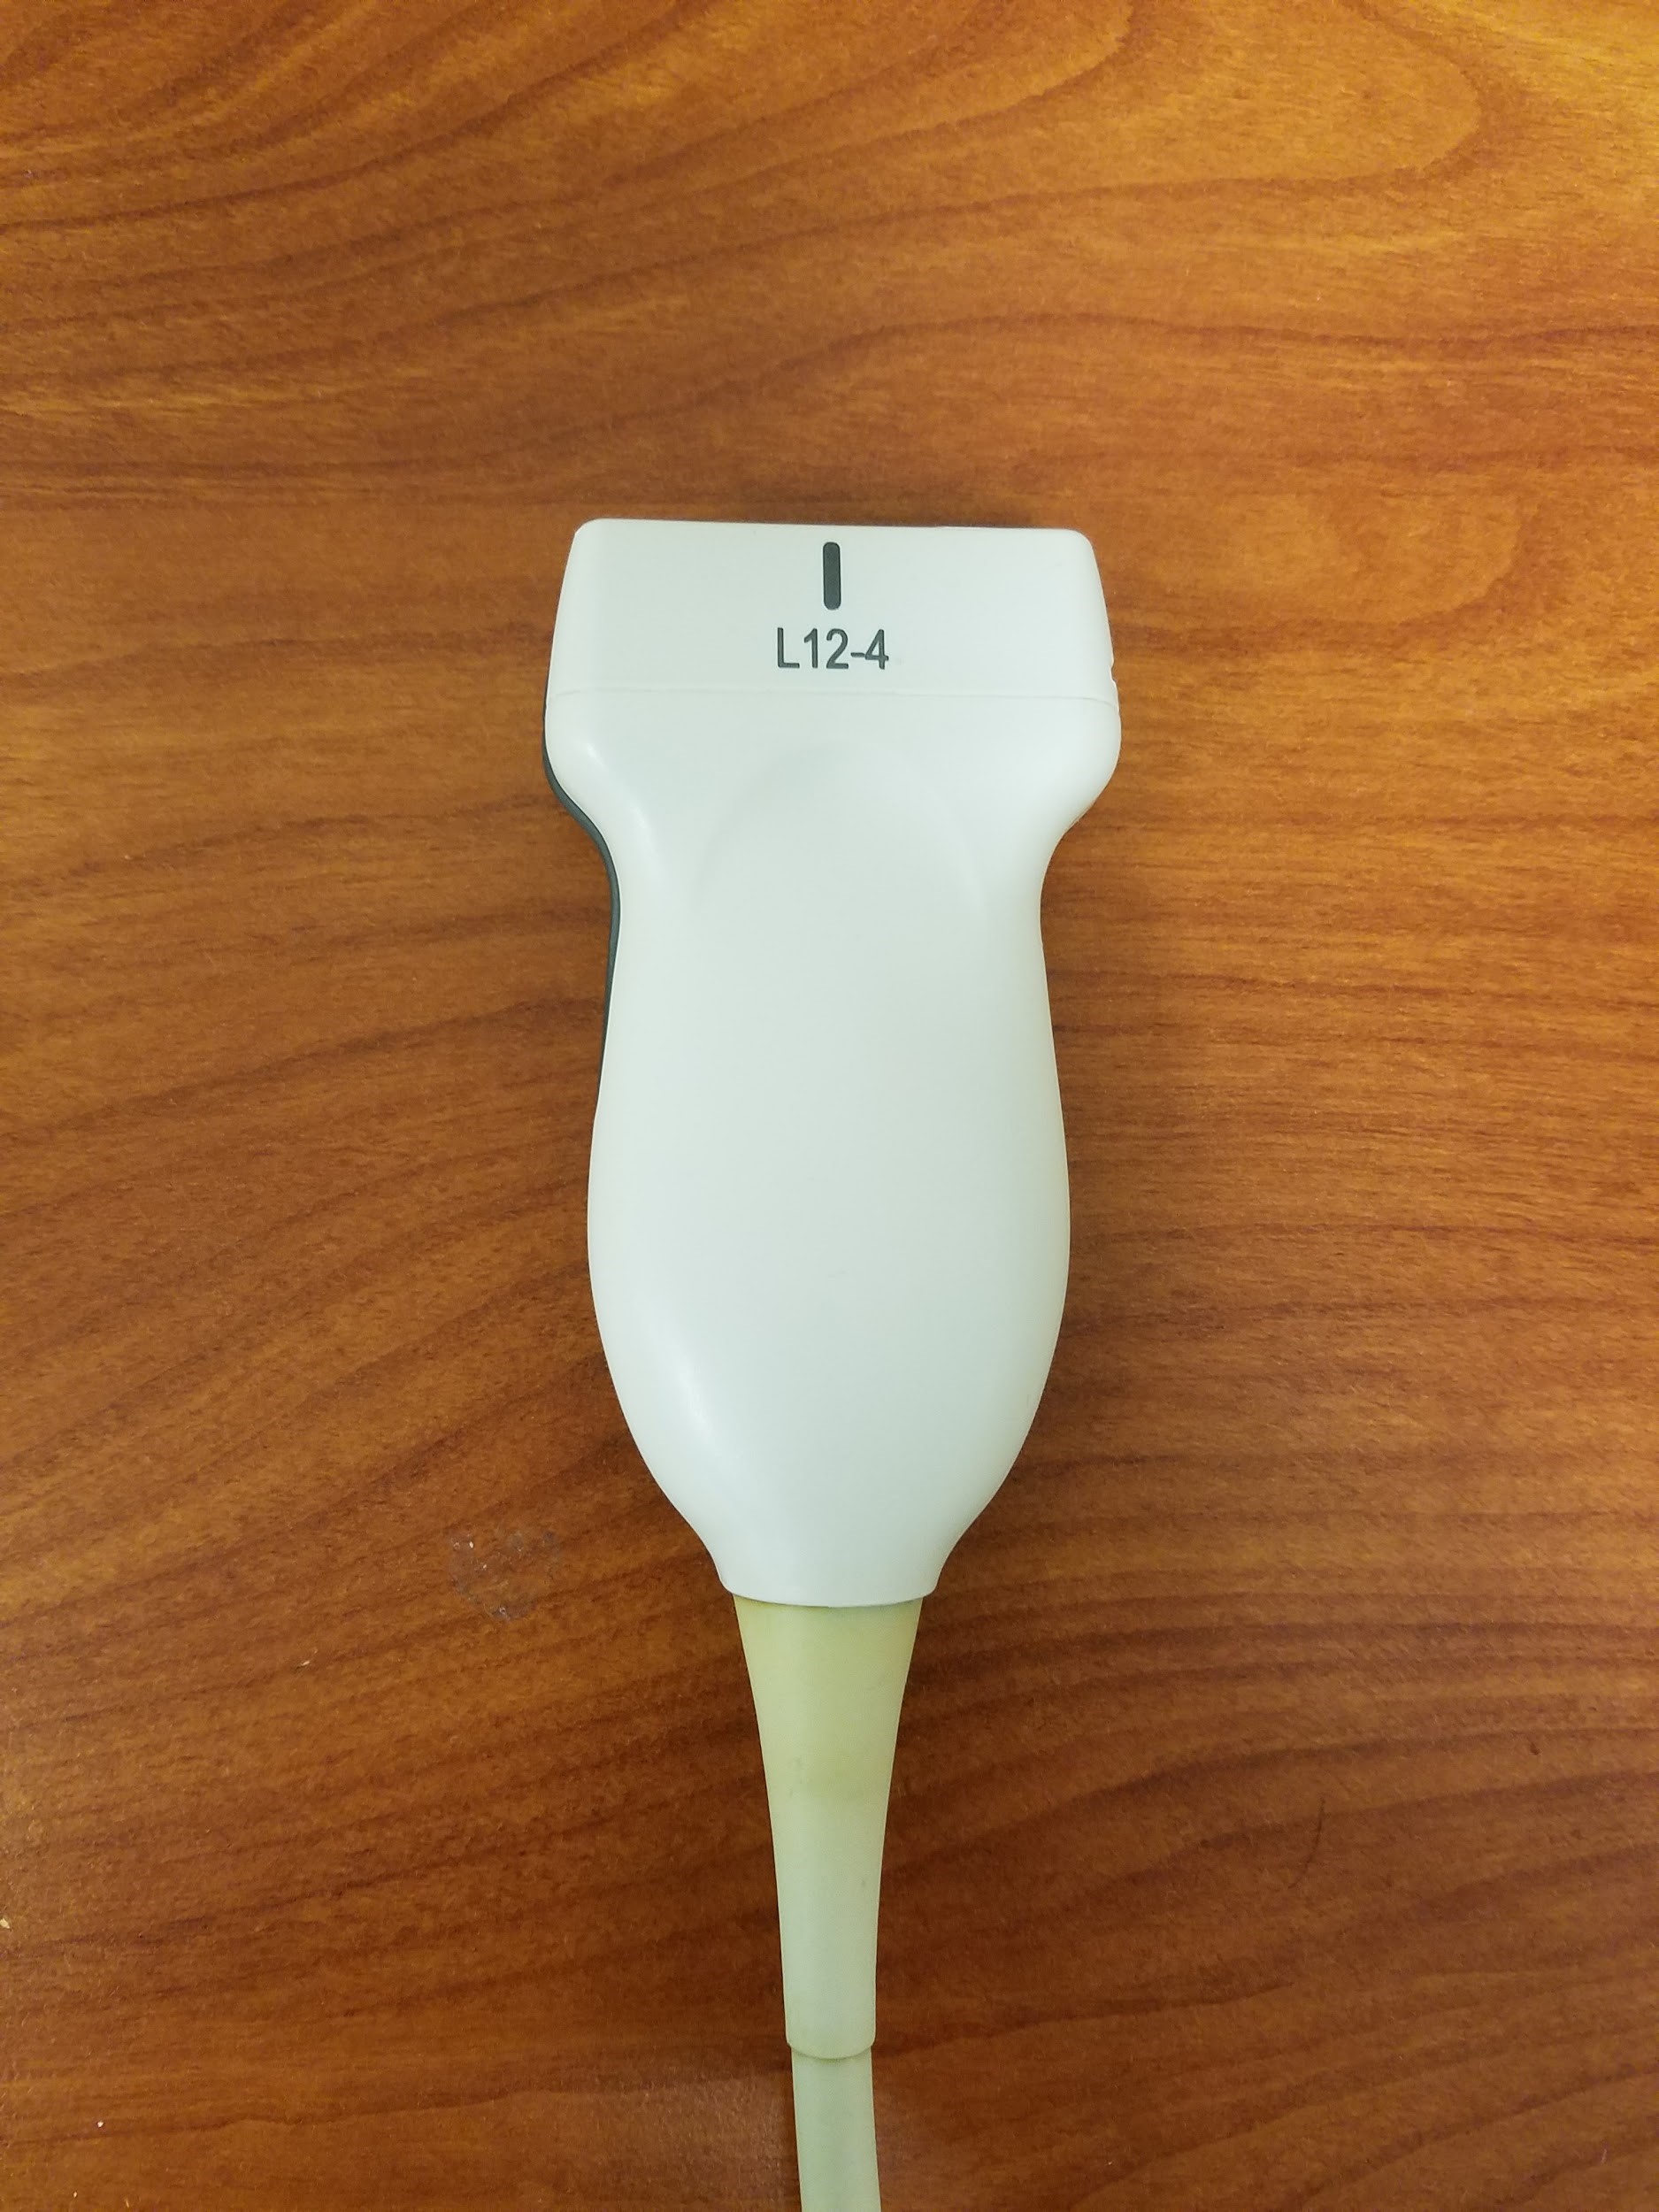
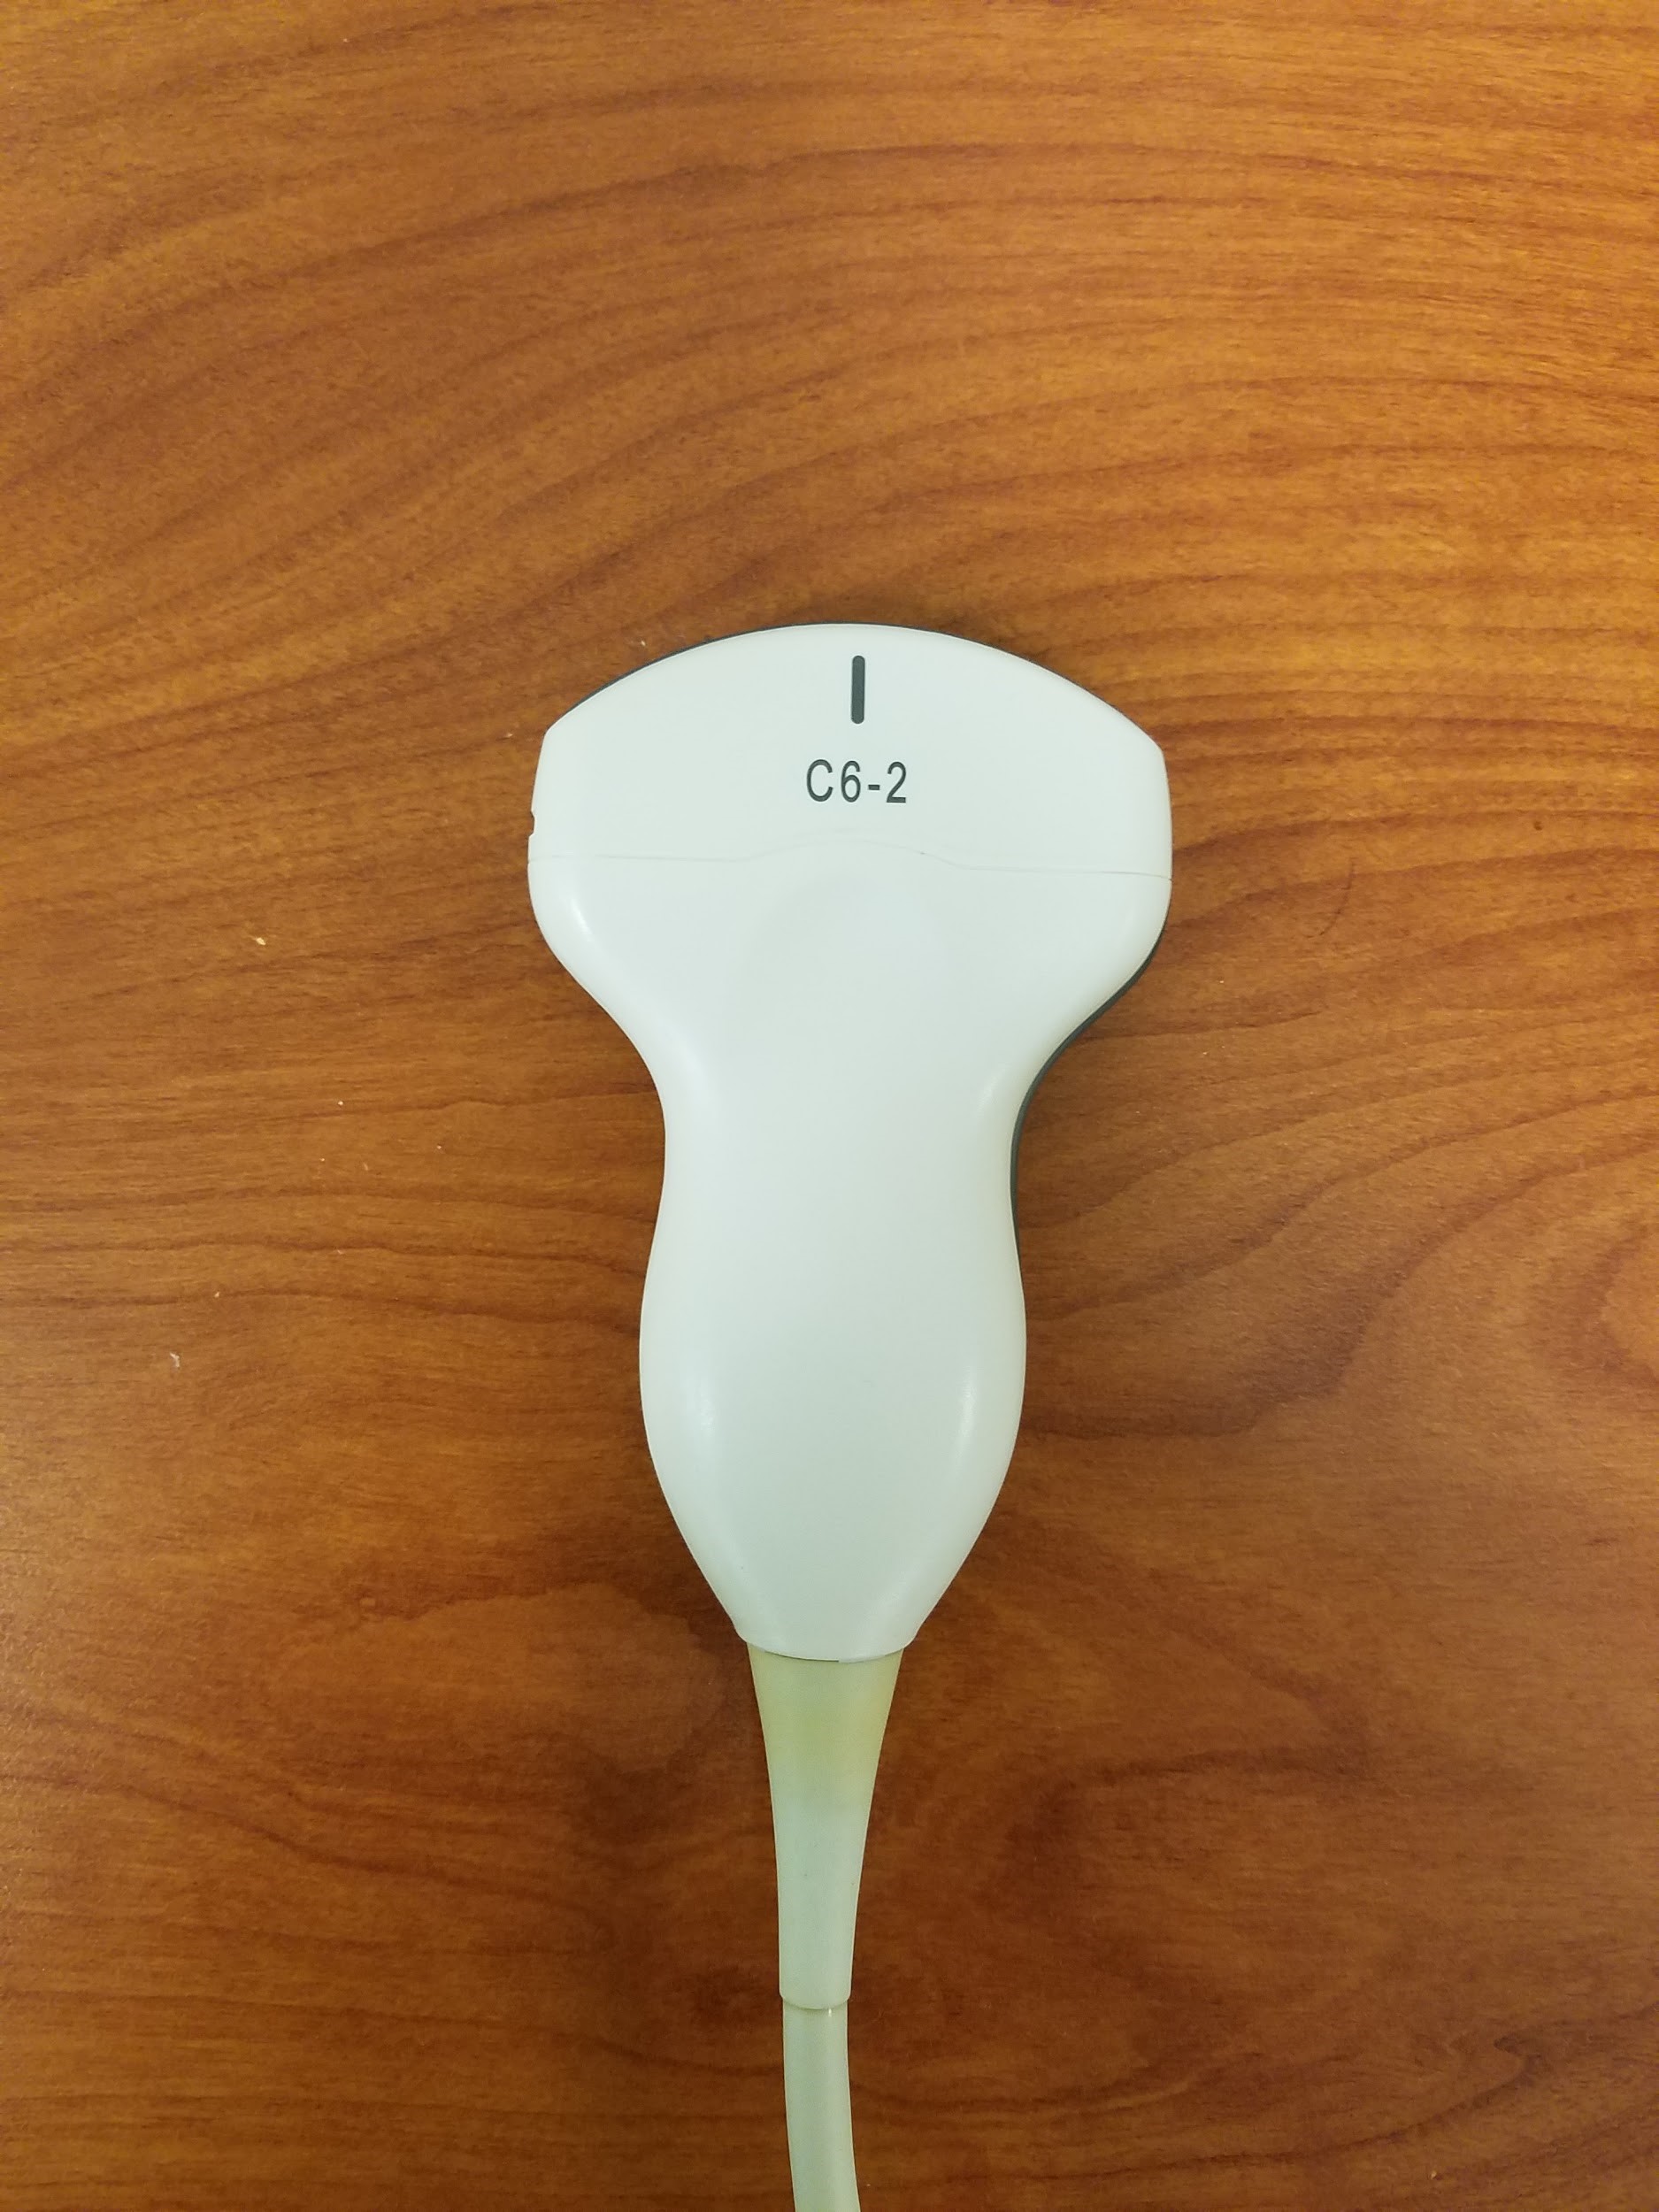
In pediatrics and thin adults, the linear probe will work most of the time. In those with larger habitus, it may be difficult to visualize the appendix and landmarks. Here you should use a lower-frequency probe, such as the curvilinear or phased-array, to gain adequate depth.
Point-of-maximal tenderness Technique: Put the probe where it hurts!
1. Place the patient supine
2. Place the probe over the point of maximal tenderness in the RLQ or ask the patient to place the probe at the most painful site. If its appendicitis and it is tender in the RLQ, they're likely pointing to the area that the inflamed appendix is irritating the peritoneum
3. Use “graded compression” until landmarks are visualized - the right psoas (P) muscle and the iliac vessels (Ia and Iv) - and/or appendix, which will appear as a blind-ended pouch. The appendix is found either in between these structures and/or anterior to these structures.
Graded compression moves gas and bowel out of the plane of the ultrasound bringing the appendix closer to the abdominal wall, making it more easily visualized.
Black and white, color overlay, and labeled images of normal right lower quadrant anatomy. Ap = Appendix, P = Psoas, Ia = Iliac Artery, Iv = Iliac Vein.
4. Once visualized, confirm that it is the appendix by visualizing it in both the transverse and longitudinal plane; the appendix should be a blind-ending tubular structure.
Longitudinal
Transverse
5. Measure the appendix and compress. A normal appendix is < 6 mm in diameter (<6 to 7 mm described in some literature for pediatrics) from outer wall to outer wall and compressible (2).
In a non-cooperative child (or adult) who is in pain, consider analgesia before starting and distraction, such as with entertaining videos with a smartphone (3).
For a short video summarizing the point of maximal tenderness technique and also introducing the “mini-lawnmower” technique, check out: http://5minsono.com/Appy/
Findings in Acute Appendicitis (2)
Outer diameter greater than 6-7 mm*
Non-compressible (Note: it might be compressible in perforation)
Lack of peristalsis
Abnormal appendix in long view, measuring 8 mm in diameter
Abnormal appendix measuring 8 mm in diameter in transverse view surrounded by free fluid, consistent with appendicitis.
Note that the literature usually uses a cut-off of 6 to 7 mm; however, infants may have a smaller diameter, with growth of the appendix reported at ages 3 to 6 years. This highlights the need to look for secondary findings of appendicitis, especially in pediatric patients who may have a normal appendiceal diameter. (3)
Secondary Findings In Acute Appendicitis (2)
Here are some of the secondary findings that can help diagnose appendicitis:
Appendicolith/Fecalith Appendicolith within the lumen, appearing as a hyperechoic structure with shadowing
Free fluid surrounding the appendix appearing as hypoechoic material, representing edema or perforation
Ring of Fire - Increased vascularity visualized using color-flow Doppler known as "Ring of Fire."
Also the following findings can also be associated with acute appendicitis (1):
Wall thickness > 3 mm
Target Sign: hypoechoic center (fluid) surrounded by hyperechoic ring (mucosa/submucosa), surrounded by hypoechoic ring in axial view
Increased echogenicity of adjacent periappendiceal fat/omentum(4)
Enlarged mesenteric lymph nodes
Thickening and hyperechogenicity of overlying peritoneum
Dilated, hypoactive small bowel
Thickening of apical cecal pole or adjacent small bowel
Part 2: When you can't find the appendix
So you’re still having a hard time finding the appendix? Don’t worry you aren’t the only one. Here are a few other techniques for you to try on your patients suspected of having acute appendicitis. The following systematic approach has been described by Sivitz (5):
1. Move the probe laterally, identifying the ascending colon and lateral abdominal wall.
The ascending colon is a non-peristalsing structure containing gas and fluid, or ‘dirty shadowing.’ You can also visualize haustra as you follow the colon down to the cecum.
2. Move down the lateral border into the cecum
3. Move medially across the psoas and iliac vessels
4,5. With the psoas muscle and iliac vessels kept in view, move the transducer down into the pelvis and toward the umbilicus at the border of the cecum
6. If the appendix is not yet visualized, place the probe in the sagittal position, identify the cecum in the long axis and sweep medially compressing the cecum against the psoas muscle
Troubleshooting
What if you still cannot visualize the appendix? Perhaps the appendix is retrocecal. In one study (6), visualization of the appendix was improved 21.5% by following a 3-step technique.
The first step is the usual supine technique as described above.
Place the patient in a 45º left posterior oblique (LPO) position and scan parasagittally through the R flank in a coronal plane parallel to long axis of the psoas muscle. The appendix will appear anterior to the psoas muscle on the screen. (3)
If the appendix is still not visualized, the patient is returned to the supine position for a repeat attempt with the supine technique.
To visualize the LPO position: http://radtechsociety.blogspot.com/2012/11/anatomical-body-positions.html
Another troubleshooting technique is to place the left hand dorsally to the RLQ (essentially placing the hand on the patient’s back). The user then pushes against the patient’s back with anterior and anteromedial pressure with the 4 fingers of the hand; this technique improved visualization by 10% in one study (7).
So what does all of this this mean for us in the ED?
You’ll never know if you don’t try! Go ahead and put that probe on the abdomen and try to evaluate for appendicitis.
You won’t find it or hone in on your skills unless you give it a shot. If you see findings concerning for appendicitis, this can further support a clinical picture for appendicitis. However, do not utilize POCUS alone as a rule-out and instead consider your other resources available to you, such as serial abdominal exams, CT, MRI, and comprehensive ultrasonography by your radiology department.


